The Ring Handstand Push Up was first seen at the 2010 Games, but made a comeback earlier this year in the Carson sunshine at the 2016 CrossFit Games®. The crowds watched in awe as athletes such as Josh Bridges, Camille Leblanc-Bazinet and Annie Thorisdottir completed a tough workout that contained Ring Handstand Push Ups – aptly named the separator – in style.
So now it’s your turn! The exercise is an advanced movement, but there is no reason why you can’t achieve it. CrossFit® is all about pushing your limits right?
1. BUILD THE RIGHT FOUNDATIONS
– BASIC STRENGTH AND BALANCE
Before you begin to start learning the Ring Handstand Push Up you should be able to complete the following:
- 3 Strict Handstand Push Ups
- 3 Strict Pull Ups
- 5 second freestanding handstand
The Ring Handstand Push Up requires a good sense of balance, because you are performing the exercise on equipment that is moving and unstable. Your core will be required to work hard to keep you stable throughout the full range of motion.
If you have trouble with the balance, or struggle with maintaining a calm and steady freestanding handstand, then this trick from Camille Leblanc-Bazinet will help you to improve your balance.
Camille’s Balance trick:
- Stand in an upright position with your feet shoulder width apart.
- Next, take a 15kg plate, grip it in both hands and raise it above your head with your arms fully outstretched.
- Keep your core tight and adjust the plate until you are completely stable. Hold for 20 seconds.

The aim of this exercise is to help find your point of balance and train your muscle memory to keep your body tight in this position. When you flip upside down it will help to improve your Handstand Hold, Handstand Push Ups and translate when you move onto Ring Handstand Push Ups as well.
– PROGRESSION
As with all the more advanced exercises in CrossFit®, it’s all about progression. You need to build up over time by developing and strengthening your body and technique in incremental stages.
Entering the Ring Handstand Push Up position
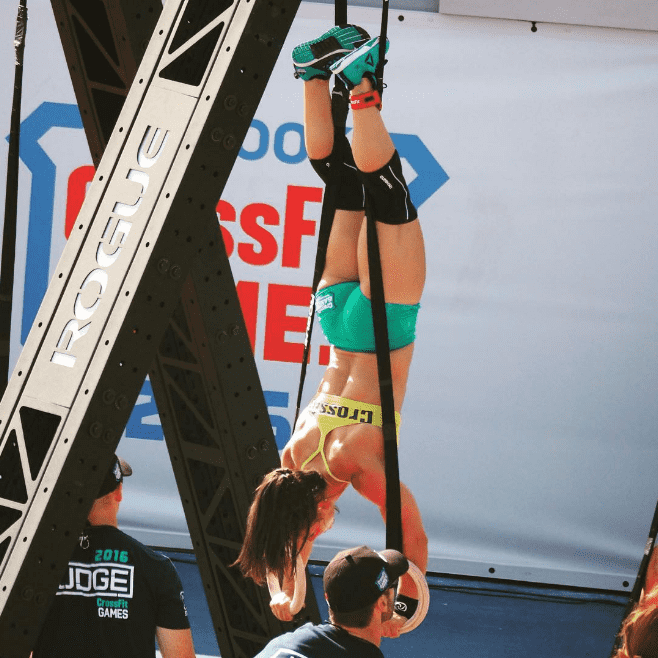
This can be harder than anticipated, so it is worth hanging the rings over a mat for the first few times you try this! Grip the rings with bent arms, activate your core then push hard to propel your legs and body into the upright position. Remember to open your legs into a v shape that is wider than the width of the straps that hold the rings, as you need to catch the straps so that you can wrap your feet around and hold your body in place.
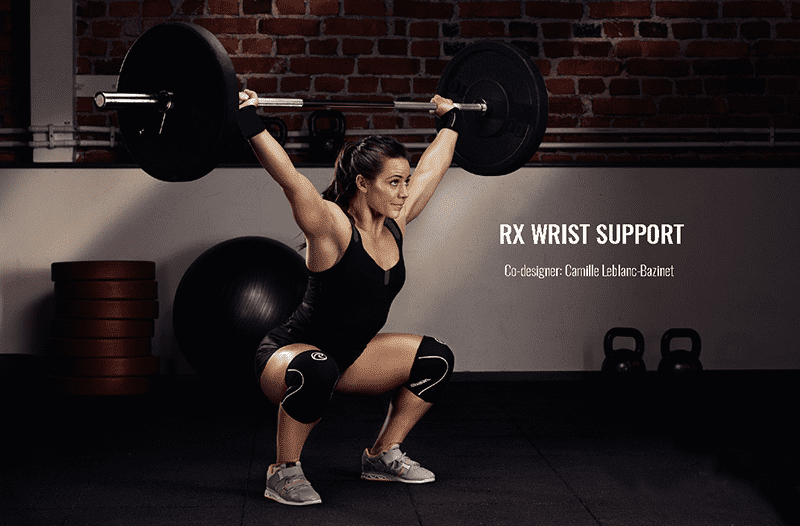
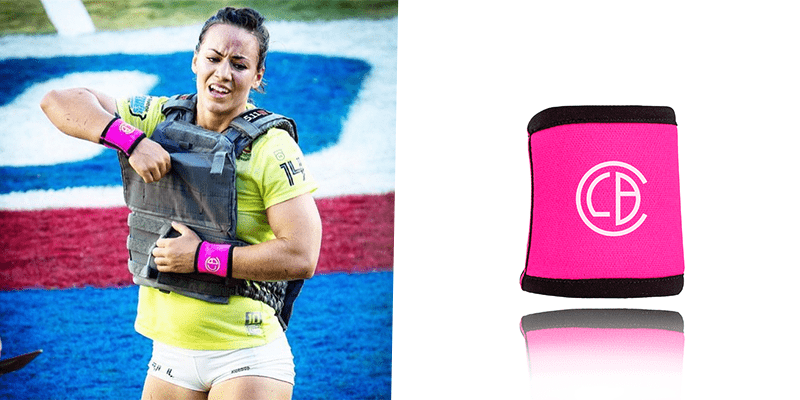
Wearing wrist supports can also help to stop cuts and abrasions on your wrists and arms from the pressure of them rubbing against the chalked wooden rings and roughly textured straps. They also provide additional support, warmth and compression. These were co-designed with Camille Leblanc-Bazinet and incorporate her exact specifications based on years of CrossFit® experience and knowledge. When learning new exercises, especially ones that are difficult, it’s a good idea to give yourself as many advantages as you can.
Reps with a half range of motion
Once you are safely locked into position, practice your reps by only descending to half depth before you press back up. This will help your body get used to the balance and unfamiliar conditions of the exercise. Practice from the locked out position and gradually lower your body half way, before pressing back to the locked out position where your arms are straight.
Remember that you need to train strength and form before you go for speed. You won’t go fast, not even the top pros do, so concentrate on the integrity of the movement.
Controlled descent progression
Once you are in the locked out position you can also go all the way down to the lowest negative position then lunge out again, back onto your feet. Work slowly, and simply concentrate on controlling the descent. This way you can focus on the balance and movement before needing to worry about the strength that is required for the pressing part of the exercise.
2. FLEXIBILITY IS KEY
This exercise demands good flexibility. Make sure to mobilise your shoulders and warm up with Push Presses and Strict Presses to wake your body up as well. Strong shoulder stability is absolutely necessary for being able to complete successful Ring Handstand Push Ups.
3. LOCK YOUR FEET
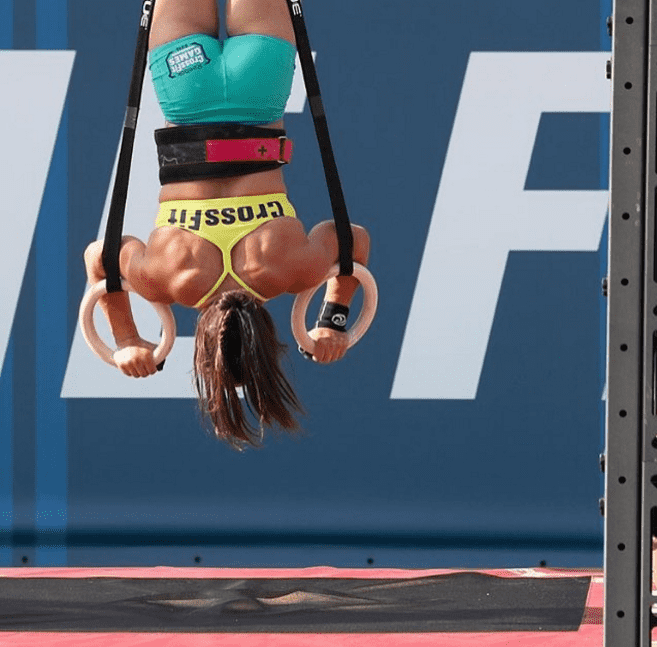
This is a vital part of the exercise! Straddle your legs out and around the straps when you kick your legs up. Use your feet to hook back inside the straps so that your outer foot is in contact with the material of the strap.
4. BODY POSITIONING: STAY VERTICAL
– KEEP YOUR SHOULDERS OVER THE RINGS
In order to make the movement as efficient as possible, you will need to stay as vertical and straight as you can.
Your feet, knees, hips and shoulders should be in a straight vertical line. A curved spine is not efficient and will give you a closed shoulder angle, which will only make things even harder.
– MIDLINE STABILITY (MAINTAIN A HOLLOW BODY POSITION)
Stay stable. Stay tight.
The hollow body position is a basic and vital position for many gymnastics exercises, and is what you need to utilise here.
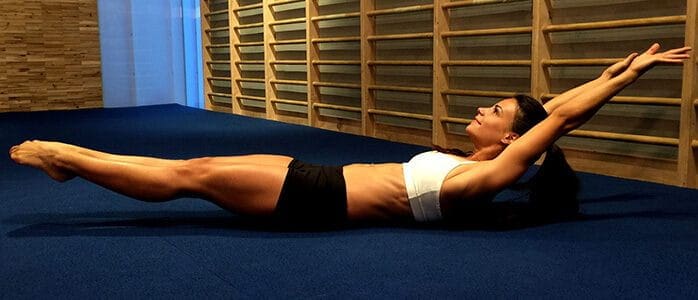
To practice getting into this position, lie on your back on the floor. With your feet together, point your toes away from your body. Fully outstretch your arms and bring your hands together above your head. Activate your core, glutes and shoulders and lift your arms and legs up off the floor. Hold.
- There should be no space between the lumbar (lower) spine and the floor
- Scapula are elevated off the ground and
- The hip is extended with a posterior pelvic tilt.
Ideally for the Ring Handstand Push Up, you want to achieve a hollow contraction for the entire range of motion and keep your glutes, core and shoulders tight.
Don’t let go of that hollow contraction!
A lot of people tend to drop to the bottom position, deactivate their midline, then try to press back up to the top position. This makes things much harder than they need to be, so avoid this habit when performing Ring Handstand Push Ups. You wouldn’t deactivate at the bottom of a heavy Squat, so don’t do it here. The following exercises are great for building core strength and improving your hollow body position.
- L Sits
- Hollow Rocks
- V-Ups
5. RING HANDSTAND PUSH UPS: GRIPPING THE RINGS
You want to keep your wrists tight when performing the Ring Handstand Push Up. Don’t allow them to bend too much because this can affect the Ulnar nerve, which in turn will have a negative impact on your balance, as well as your body.
Maintain a strong grip throughout, and make use of wrist supports, for additional safety and feedback from your body. These will also help to protect your skin from cuts and abrasions that will occur from the chalked surface of the rings and textured straps rubbing against your skin.
Here you can also turn your elbows out slightly in order to press yourself back up (think of the mechanics behind the way you Clean a barbell). Try and find the angle that works the best for you.
The Ring Handstand Push Up is an advanced exercise and takes time, strength, technique and balance to master. This is exactly why you should learn to do it, whatever your current skill level, because CrossFit® will always challenge you to work harder and become better than you ever thought you could be. It’s time to enable your full potential, and it will be hard, but you wouldn’t want it any other way right?
Enable your full potential now!
Image Sources
- camille-ring-hspu: Trey Whitaker
- camille-standing: Camille Leblanc-Bazinet
- camille-snatch-with-wrist-support: Rehband
- camille-rhspu: Trey Whitaker
- camille-running-murph-with-wrist-supports: Camille Leblanc-Bazinet
- camille-crossfit-games: Camille Lebland-Bazinet

