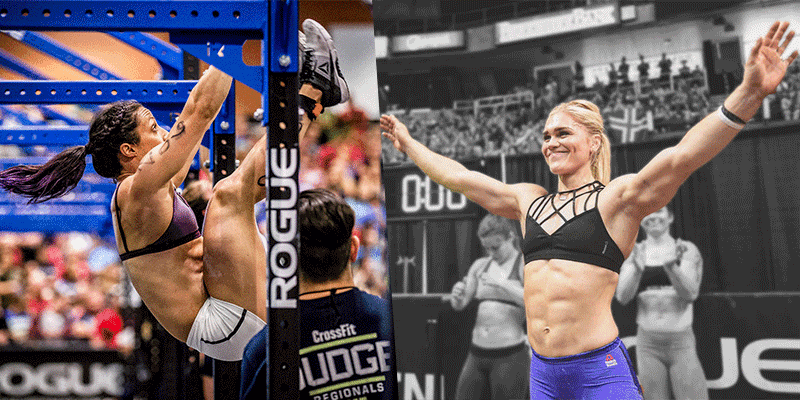
Toes to bar can be a tricky movement to RX.
They aren’t necessarily a skill that you may have learned when you were younger, since they’re a very CrossFit®-specific movement. And I use the word tricky, because they really aren’t always as easy as some athletes can make them look.
So let’s take a few minutes to breakdown the toes to bar movement, into a progression format. Whether you have no idea where to even start with toes to bar, are having issues stringing them together, or working on being able to do more in a row, then you’re in the right place.
Technique For Toes To Bar
The goal when learning proper toes to bar technique is first and foremost, being able to get those toes up to the bar. From there, your aim should be to string big sets together… therefore finishing workouts more efficiently.
Yet as you may have already learned, it’s not quite as simple as just hoping up on the bar and getting your toes to touch.
Here’s what I often see happen:
- Jumping onto the pull-up bar
- Flailing around like a monkey
- Doing whatever it takes to get their feet to touch the bar, usually resulting in a ton of extra swinging.
In order to avoid the flailing and swinging around (which is a huge waste of energy, by the way), let’s break down a toes to bar progression.
Toes to Bar Progression
Step 1: Beat Swings
Let’s start very simple. Adjust your hands on the pull-up bar to be about shoulder width, while keeping both your core and legs tight. Once you are hanging, make sure that your shoulders are activated. Swing back and forth, changing from hollow position, to arch position.
If moving back and forth from the hollow and arch positions is difficult for you, try dropping from the bar and trying this drill on the floor to get more comfortable with the two movements, and how your body adjusts between them.

Step 2: Kipping Levers
We are now going to build off of beat swings, yet start to build the elevation while still in the hollow body position. During this step, make sure you’re mindful of activating your lats. This is going to help with getting a higher lever.
Kipping levers should not be using your legs. If you do find yourself using your legs, you are probably forcing a kip (not good). Think back to the basics of tight legs and core, so that while levering back, your feet move a bit in front of the bar, still together.
The lever portion of toes to bar is vital, since it’s what ensures that you are able to get your torso far enough back from the bar, creating the space that you need to then bring your legs and feet up to touch the bar. No lever, and odds are your kip will start to look like you’re a monkey!
Step 3: Knee Raises
Feel read to move on from kipping levers? Great, let’s start focusing on getting your knees up. Don’t forget about the importance of lat and shoulder activation, and while levering back, lift up your knees towards your chest.
This movements of knees to chest (not touching your chest, just towards it) should be fluid, so that you can continue with the movement several times in a row.
Important: Knee raises does not mean knees to elbows. Your knees really only need to be coming up to around your belly button in order to get the feeling for this step in the toes to bar progression. As long as you are able to start lifting your legs (knees) to that point while maintaining your kip and control, then you’ve achieved the goal of step 3.
Image Sources
- Toes-to-Bar-CrossFit-Open: Photos courtesy of CrossFit Inc